10 Easy Steps to Soaking Nuts & Why You Would Want to! Plus a FREEBIE!
Want a FREEBIE? Don’t forget to read to the end!
This post contains affiliate links which cost you nothing but earn our family a small commission if you purchase through them!
Our Inconvenient Family is a participant in the Amazon Services LLC Associates Program, an affiliate advertising program designed to provide a means for sites to earn advertising fees by advertising and linking to Amazon.com
Have you ever heard of soaking your nuts? Honestly, I had just heard a mention or two of it in the past but it really hadn’t grabbed my attention. Seriously, why would I want to do that? Then this summer I bought the Ultimate Healthy Living bundle and got a course from traditionalcookingschool.com that had a section on preparing your nuts and grains for optimal digestion and vitamin absorption. I had to give it a try!
So why try this?
When you’re a busy mom (or dad) why on earth would you want to add another step to your food preparation? The reasons:
1. It improves the digestibility of the nuts. Ever notice that you feel bloated after eating raw nuts? That’s because the acid in them inhibits your bodies digestive processes.
2. It improves the vitamin absorption. Nuts are supposed to be super high in vitamins and minerals, but only if properly prepared! If not, they actually inhibit proper vitamin and mineral absorption.
3. They taste SO much better when soaked and dried! I was blown away by the difference. The texture is better and the taste is awesome. A couple of my kids who didn’t care for raw nuts now have to be rationed on them. Great problem to have!
So is it hard?
I really thought this would be a hassle and time consuming process. Boy, was I ever pleasantly surprised! Here are the very easy instructions.
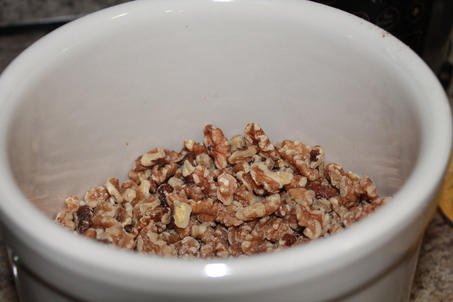
1. Get a large 1 gallon container (or a large glass or ceramic bowl (no metal).

2. Pour your nuts into it (in the photo I have almost 3 pounds of walnuts).
3. Cover with cool water a few inches above the top of the nuts.

4. Add a quality salt (I prefer Real Salt or Himalayan Pink Salt). I use a couple of tablespoons in this big of batch.
5. Stir with a plastic or wooden spoon.

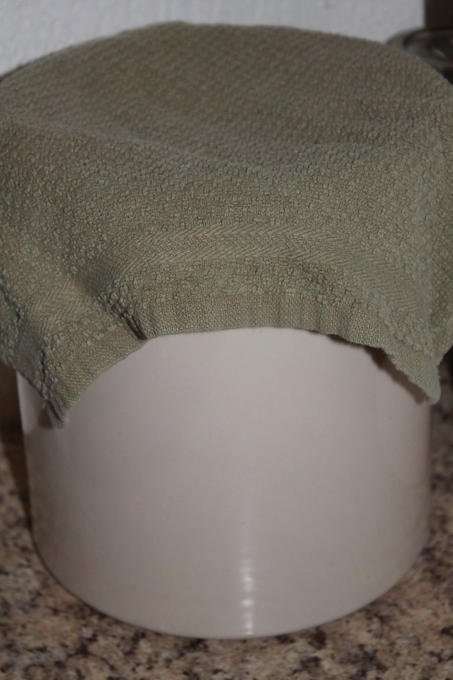
6. Cover with a cloth or plastic wrap. Set somewhere out of the way (especially out of reach of small kids!).
7. Let soak 7 hours or overnight.

8. Drain liquid (you will be shocked at how nasty it looks!).

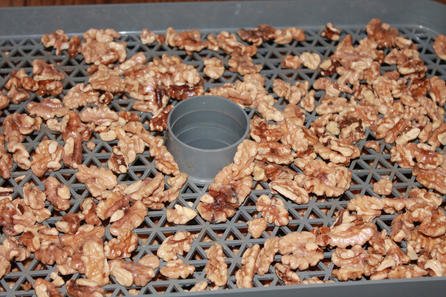
9. Spread on a single layer in a dehydrator (here’s the dehydrator I use & LOVE!). Place temperature to 150 degrees and dry for 12-24 hours (test them to see the dryness you like).
10. Store in the freezer in storage bowls or Ziploc type bags.
Time it takes to do all this: about 10 minutes of active work 🙂 Win!
Here are a few awesome resources for traditional cooking methods that I highly recommend!